There are only five simple steps between your old smelly septic and your brand new Taylex Wastewater System.
Failing septic systems can have dire health and environmental consequences, exposing your family and pets to dangerous pathogens and in severe cases contaminating local water sources, making them unfit for consumption and damaging the health of the wider ecosystem.
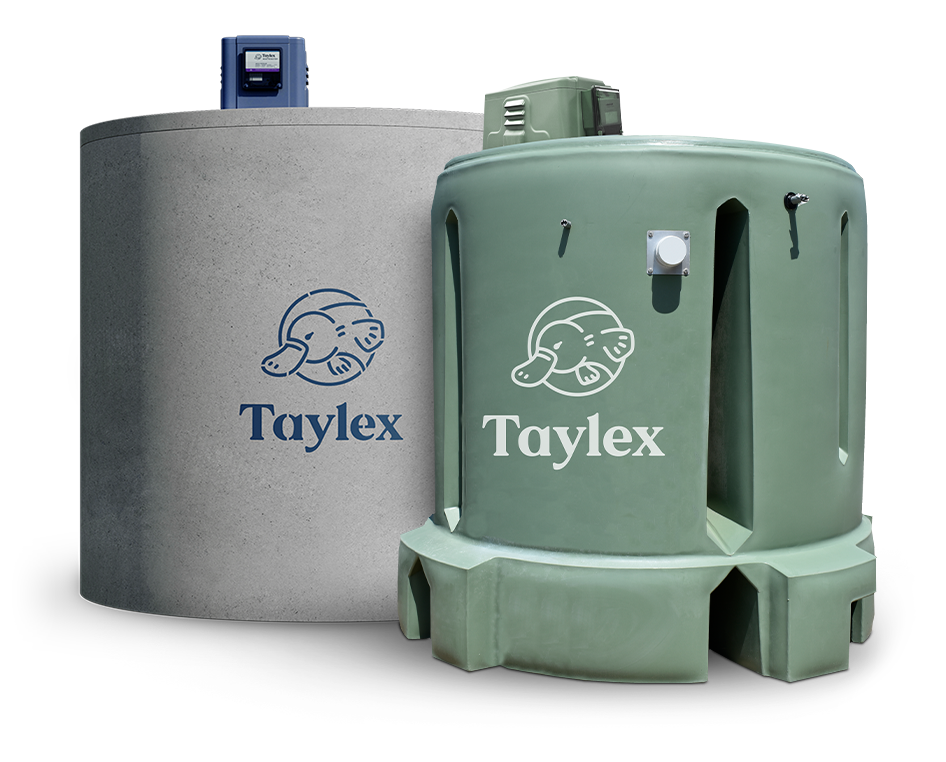
Taylex wastewater treatment systems are created with ‘monolithic’, single piece moulding technology, resulting in superior structural integrity and longevity, Taylex systems are built to last. Not only are Taylex systems built stronger and more resilient than traditional septic tanks, but they also treat wastewater to much higher levels with bacterial disinfection rates of 99.99%, minimising health risks and contributing to a healthy and sustainable water cycle.
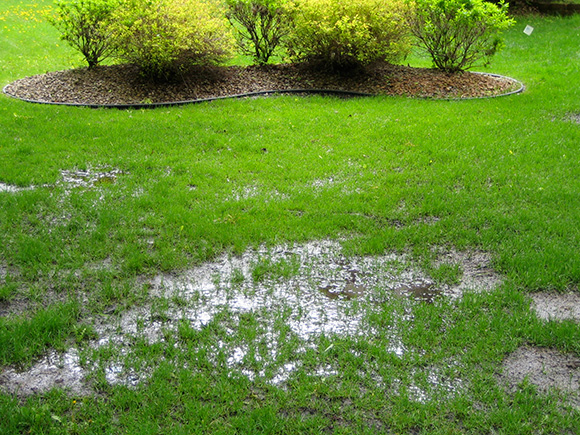
You may have a failing septic system, without even realising.
Common signs include:
• Foul odour coming from your system or parts of your yard.
• Constant wet or spongy patches in the yard (that are not due to rain or other water source).
• Gurgling/strange noises after using plumbing appliances i.e toilets.
• Unexplained slow drainage from sinks, showers, baths, etc.
Step One
Complete a Wastewater Report
The first step is to have a Wastewater Report completed by a certified professional. Taylex or your local Wastewater Specialist will help you to get the correct report and then submit it to your council. The report will tell us the location of the septic tank, how large the irrigation areas need to be, where they will go and whether they will be above or below ground irrigation systems.
Soil Report
In order to have the Wastewater Report completed, you will need a Soil Report if available.
Discuss preferred location
Discuss your preferences for the location of your new Taylex system with your installer. If they don’t have this information the system may be installed in a location that you may want to utilise for other purposes in the future.
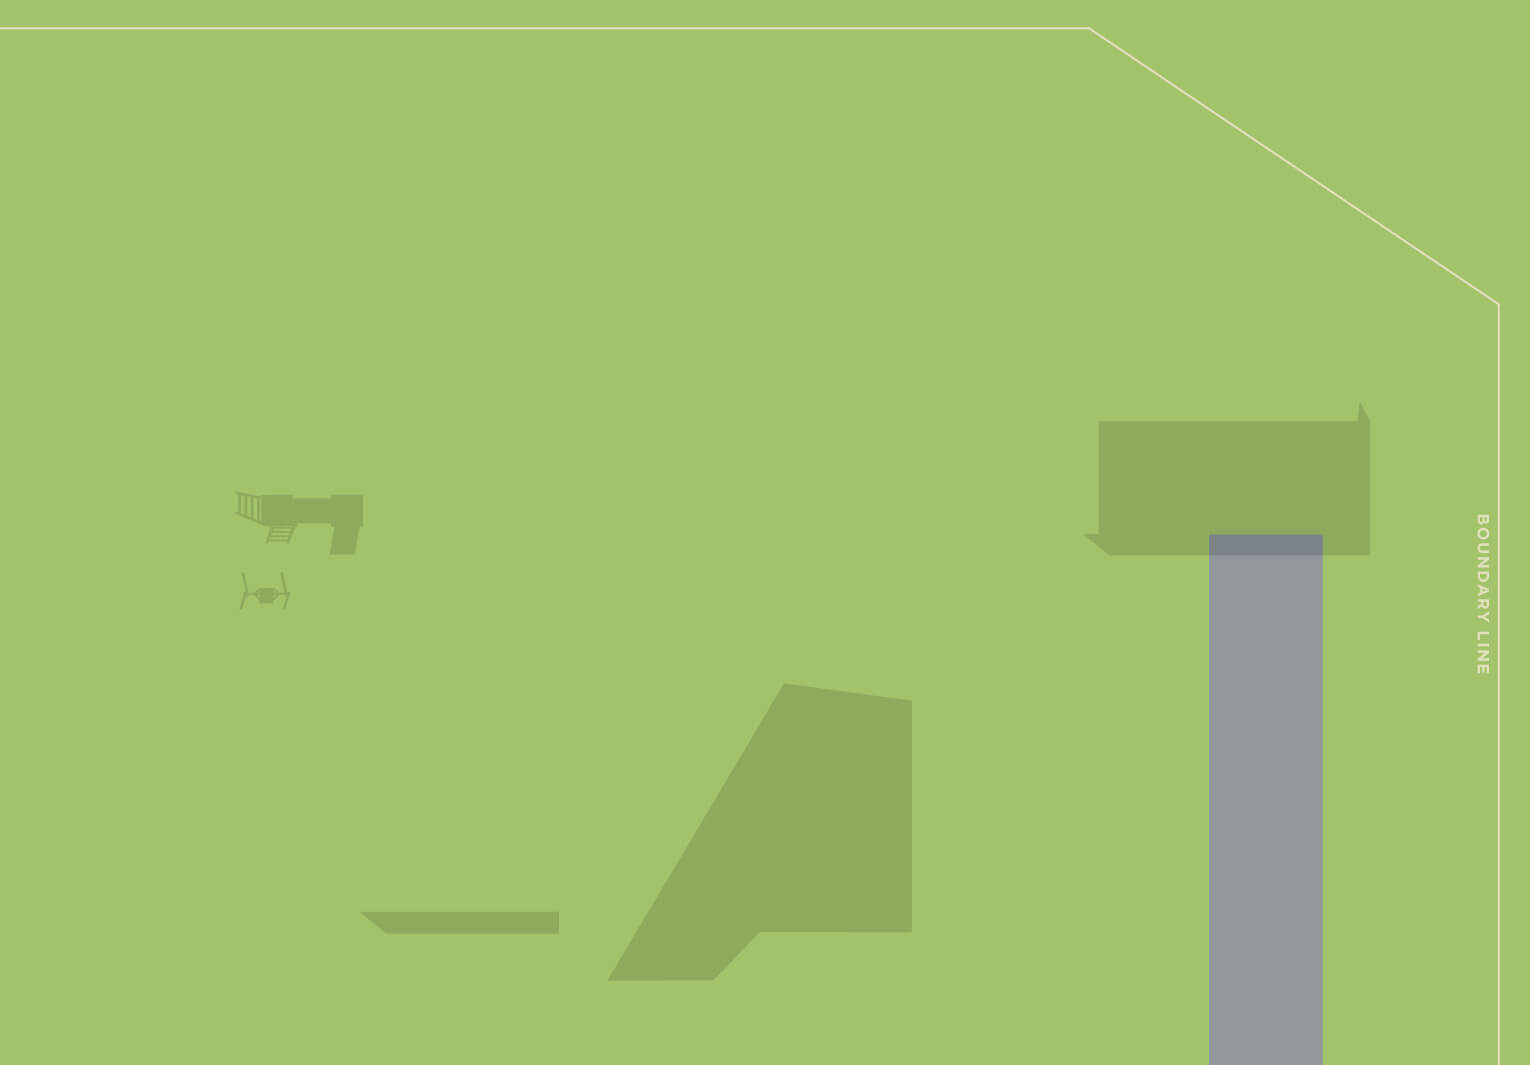
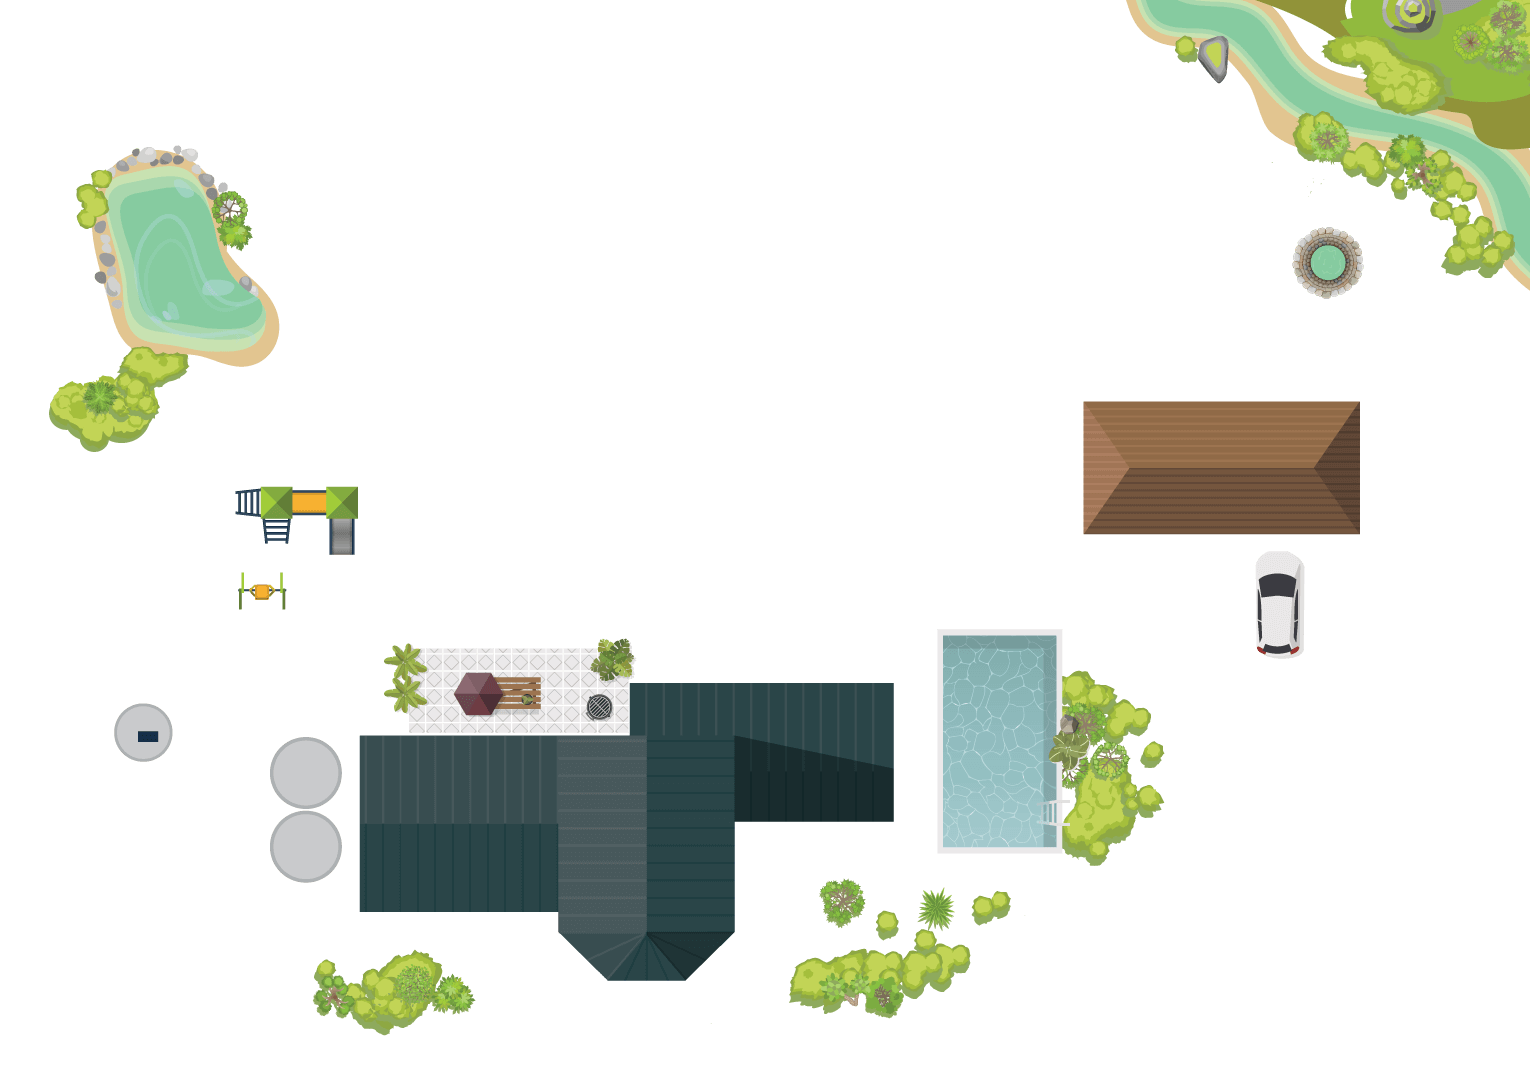
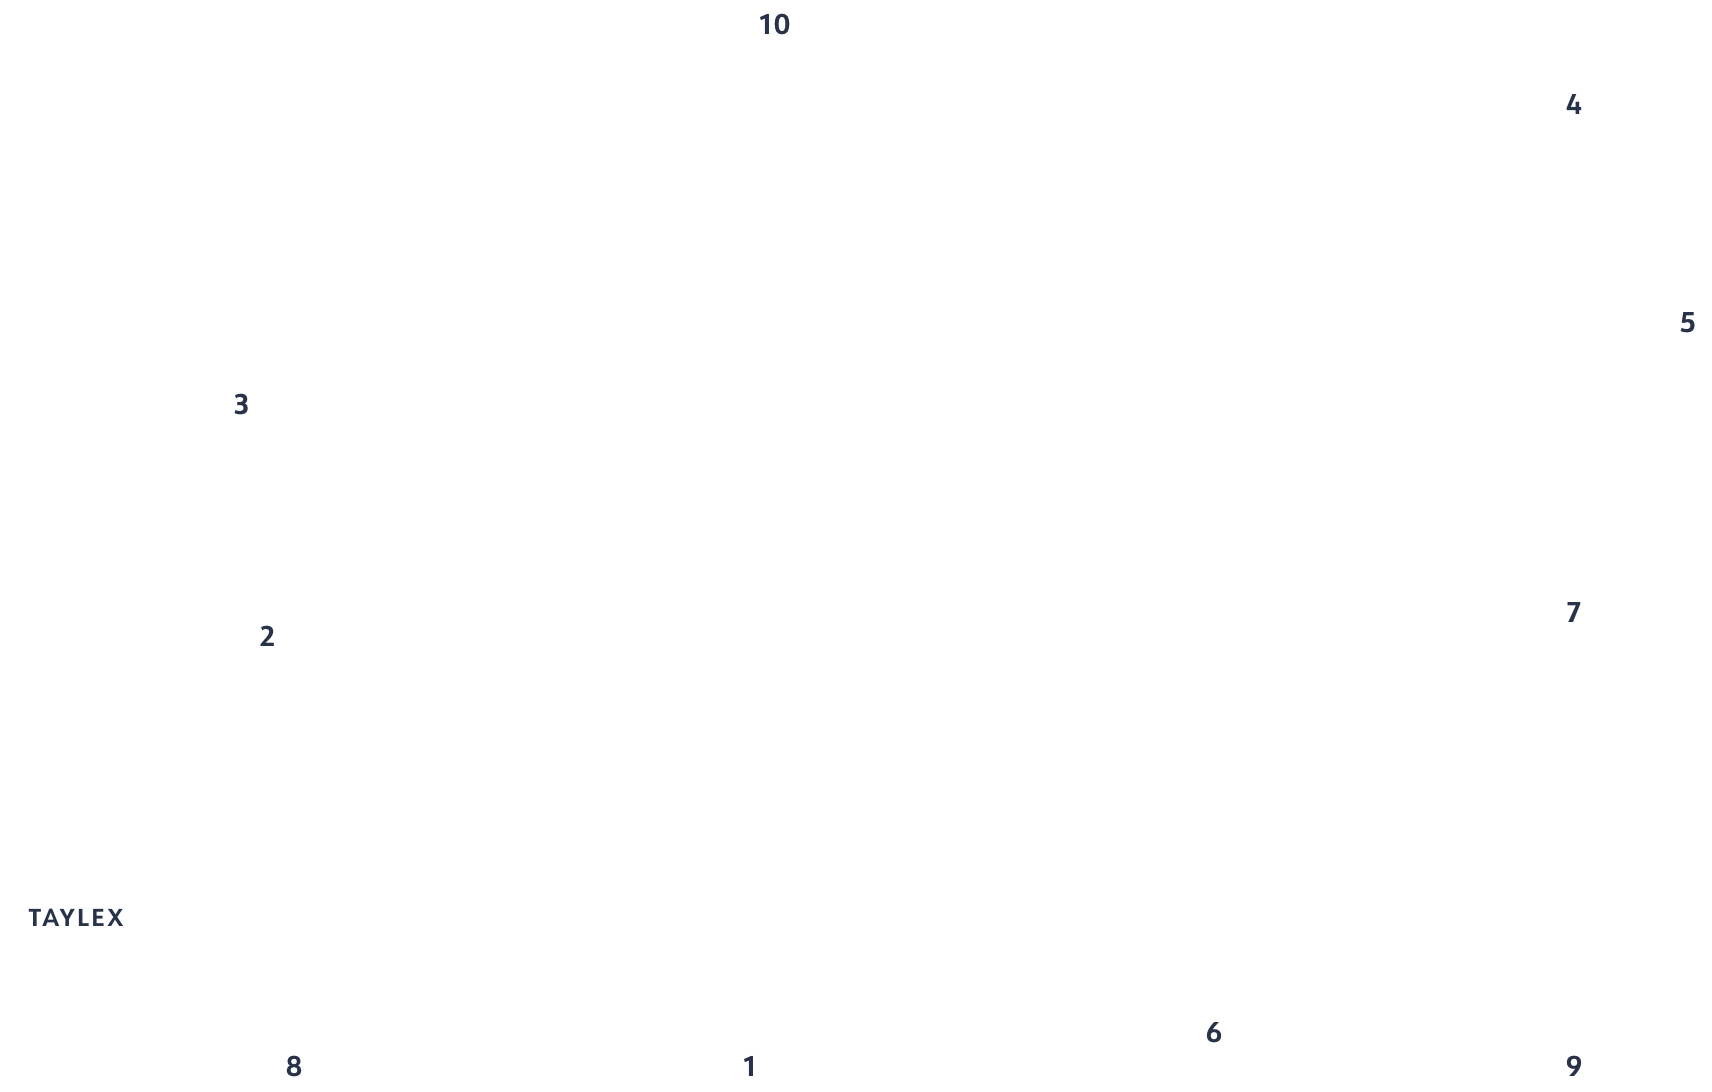
Reviewing setback distances
Taylex and your designer will work with you to ensure the system and the irrigation areas are as close to your preferred locations as Council will allow.
* The irrigation diagrams do not form an exhaustive list of setback distances. Set back distances will vary in different Local Council areas and are dependent on-site topography. Be sure to discuss set back distances and the positioning of your system and irrigation area with your designer.
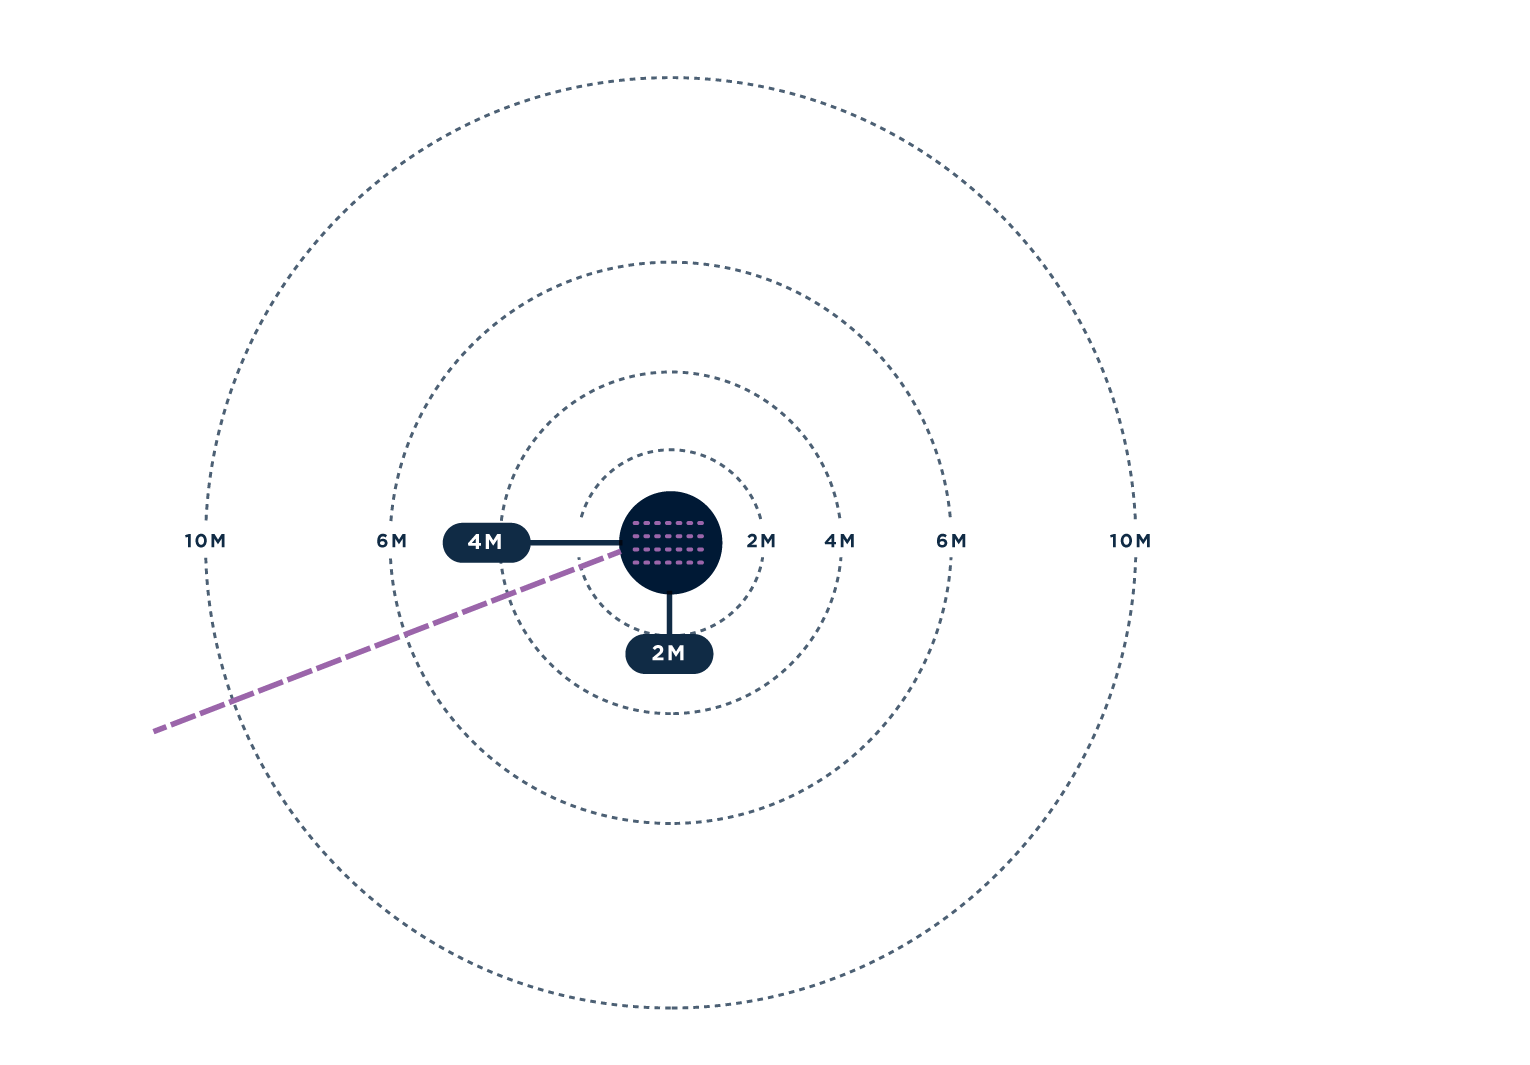
| Below Ground Minimum Setback Distances | |
|---|---|
| House | 2m |
| Play Areas | 4m |
| Dam | 10m |
| Water Course | 10m |
| Domestic Bore/Well | 10m |
| Pool | 6m |
| Sheds | 2m |
| In-ground Water Tanks | 2m |
| Driveway | 2m |
| Boundary | 2m |
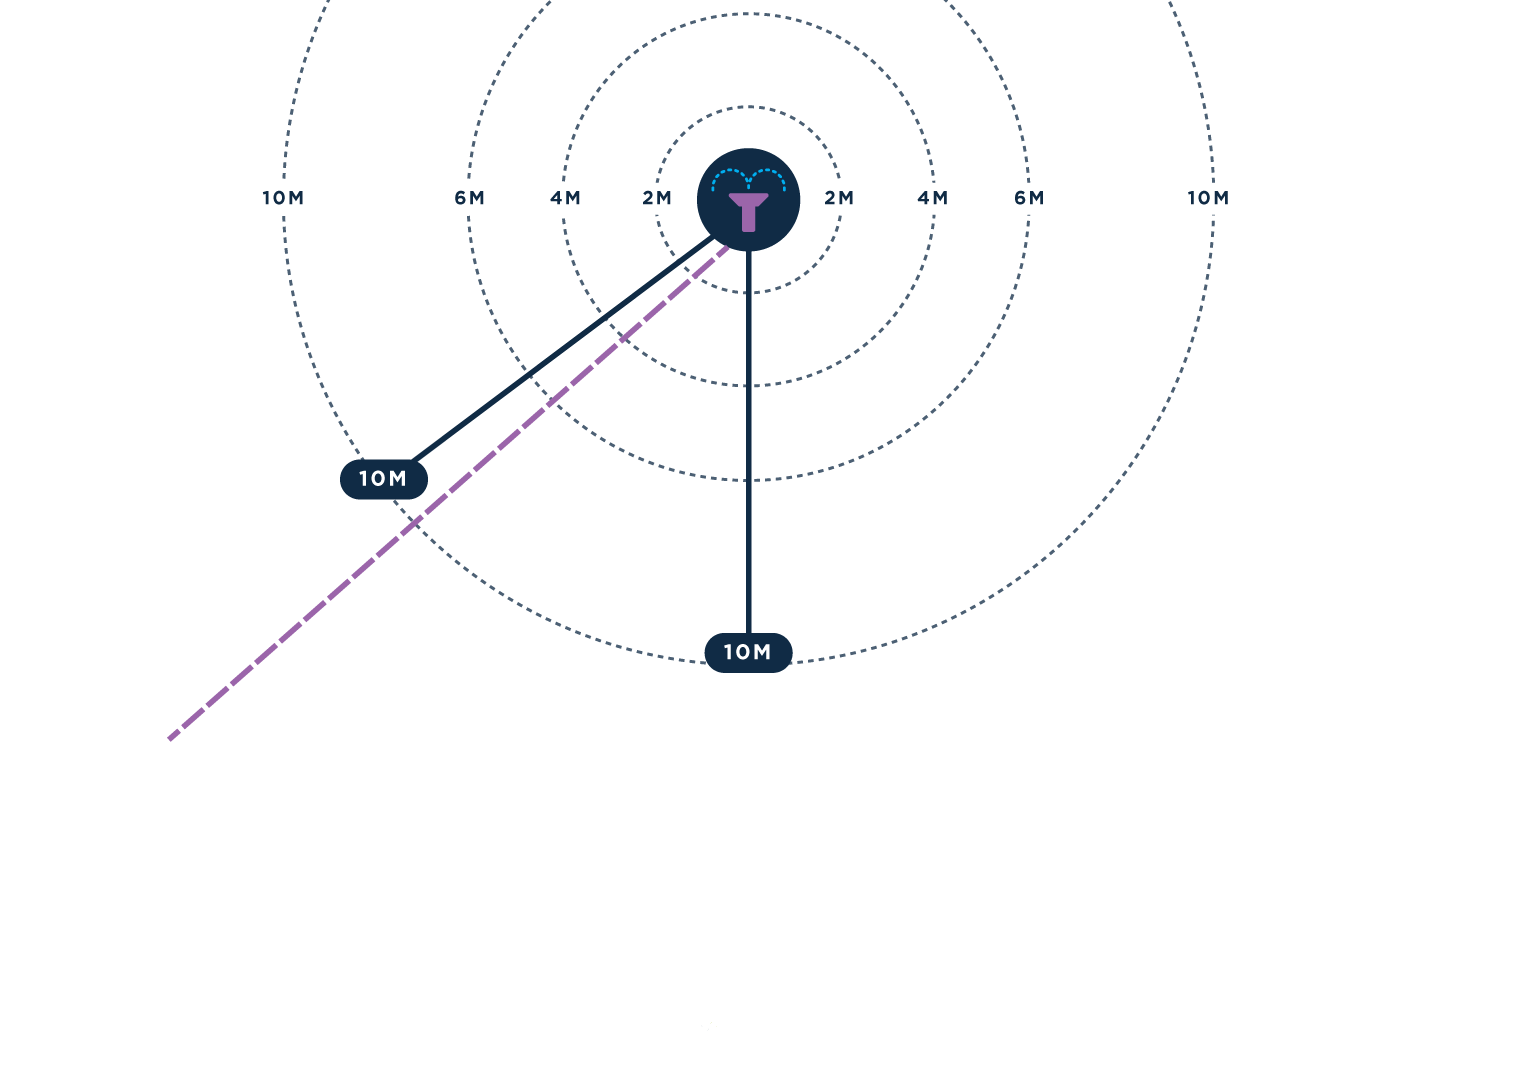
| Above Ground Minimum Setback Distances | |
|---|---|
| House | 10m |
| Play Areas | 10m |
| Dam | 10m |
| Water Course | 10m |
| Domestic Bore/Well | 10m |
| Pool | 6m |
| Sheds | 2m |
| In-ground Water Tanks | 2m |
| Driveway | 2m |
| Boundary | 2m |
Set back distances vary between Local Council Areas. Be sure to check your set back distances with your Wastewater Designer or Specialist.
Step Two
Apply for a Plumbing Application & Local Council Approval
A plumbing application and local council approval must be applied for at this point. Your plumber or Taylex representative will take care of that. In most cases, it will take at least two weeks for your local council to approve your application.
Send documents to Taylex or your installer
When you receive approval from your local council, send your Council Approval to Taylex or your Local Wastewater Specialist. We will now have all the information that we need to complete a formal quote.
Installer to assess your property
Your installer will assess access for the truck to the site, a level pad for the crane where the tank will be installed and any potential overhead obstructions. They will also asses the slope of the site and irrigation area.
Review quote
Once you have received the quote from your Specialist, read through the quote carefully. If you have any questions regarding the quote or the system itself, please don’t hesitate to get in touch with us. We’re here to make this process as easy as possible and are happy to explain anything in further detail.
Step Three
Check designated irrigation area
Check that the designated irrigation area has been cleared and prepared. It should be free of any building materials, cut down trees, stockpiled soils or anything else that might get in the way of installing your irrigation system.
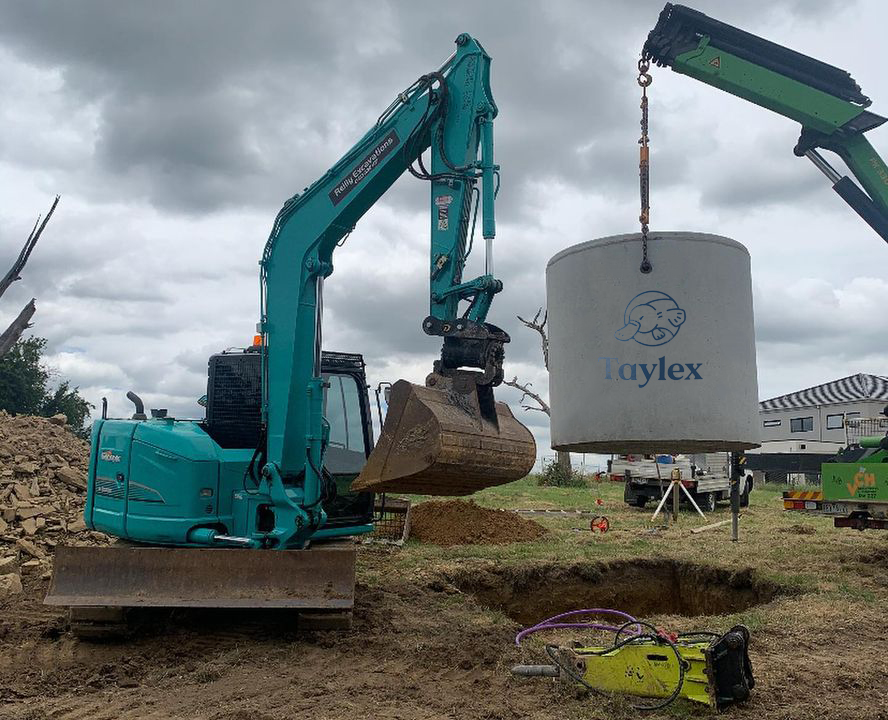
Installation Day
Whenever possible, your Wastewater Specialist will aim to complete the decommissioning of your old septic and the installation of your new Taylex on the same day. Installation and commissioning of your new Taylex System will include the installation of the irrigation field and the first service to your system.
Step Four
Options for removal of Septic System
Your old septic system will need to be pumped out before it can be either crushed and buried OR dug out and removed. Your installer will discuss these options with you, to help you decide what is best for your home.
Supply documentation for certified work
This is licensed work that needs to be carried out by a suitably certified person. Your local council will require you to supply documentation to show that this work has been carried out in accordance with their standards.
Step Five
Free 12 months servicing
While we’re commissioning your system, we’ll also conduct your first official service. Welcome to Taylex Servicing!
Taylex and our Accredited include the first 12 months of servicing with each new system.
Servicing requirements
All Taylex treatment systems are required to be serviced quarterly and may only be serviced by licensed wastewater service personnel.
Complete Taylex Servicing Form
You will receive a Welcome Pack from Taylex Servicing which will include a form for you to complete. Please make sure that all of your contact details are up to date, noting the best way to arrange access to your Taylex system. Once complete, please return your form to servicing@taylex.com.au